第 12 章:Gateway —— 一切的中心 🚪
适合人群:已经能跟 Agent 聊天,想理解底层通信机制的你 本章目标:搞懂 Gateway 是什么,学会管理 Gateway 进程、配置端口、远程访问
12.1 Gateway 是什么?
想象一个场景:
你家里有个管家(Agent)。你有三个入口:前门(Telegram)、后门(Discord)和窗户(WebChat)。管家不可能同时守三个入口,所以他在客厅装了一台对讲机总机——这就是 Gateway。
**Gateway(网关)**是 OpenClaw 的消息中枢。所有消息通道——Telegram、WhatsApp、Discord、WebChat 等等——都先连接到 Gateway,再由 Gateway 把消息转发给你的 Agent。
     ┌──────────┐
     │ Telegram  │ ──┐
     ├──────────┤   │
     │ WhatsApp  │ ──┤
     ├──────────┤   │    ┌──────────┐    ┌────────┐
     │ Discord  │ ──┼───▶│ Gateway  │───▶│ Agent  │
     ├──────────┤   │    │ (:18789) │    │        │
     │ WebChat  │ ──┤    └──────────┘    └────────┘
     ├──────────┤   │
     │ Feishu   │ ──┘
     └──────────┘
[截图:上面这个 Gateway 中心架构图]
简单来说:
Gateway 就是 OpenClaw 的消息路由器。它连接着你的聊天软件和 AI 大脑,让所有的对话都能到达该去的地方。
Gateway 的三件大事
- 接收消息——从各种聊天软件收集你发来的内容
- 转发给 Agent——把消息交给 AI 处理
- 回传回复——把 AI 的回答发回对应的聊天软件
没有 Gateway,你的 Agent 就是个"哑巴"——只能通过命令行跟它说话。有了 Gateway,你才能用手机上的聊天软件随时随地跟 AI 聊天。
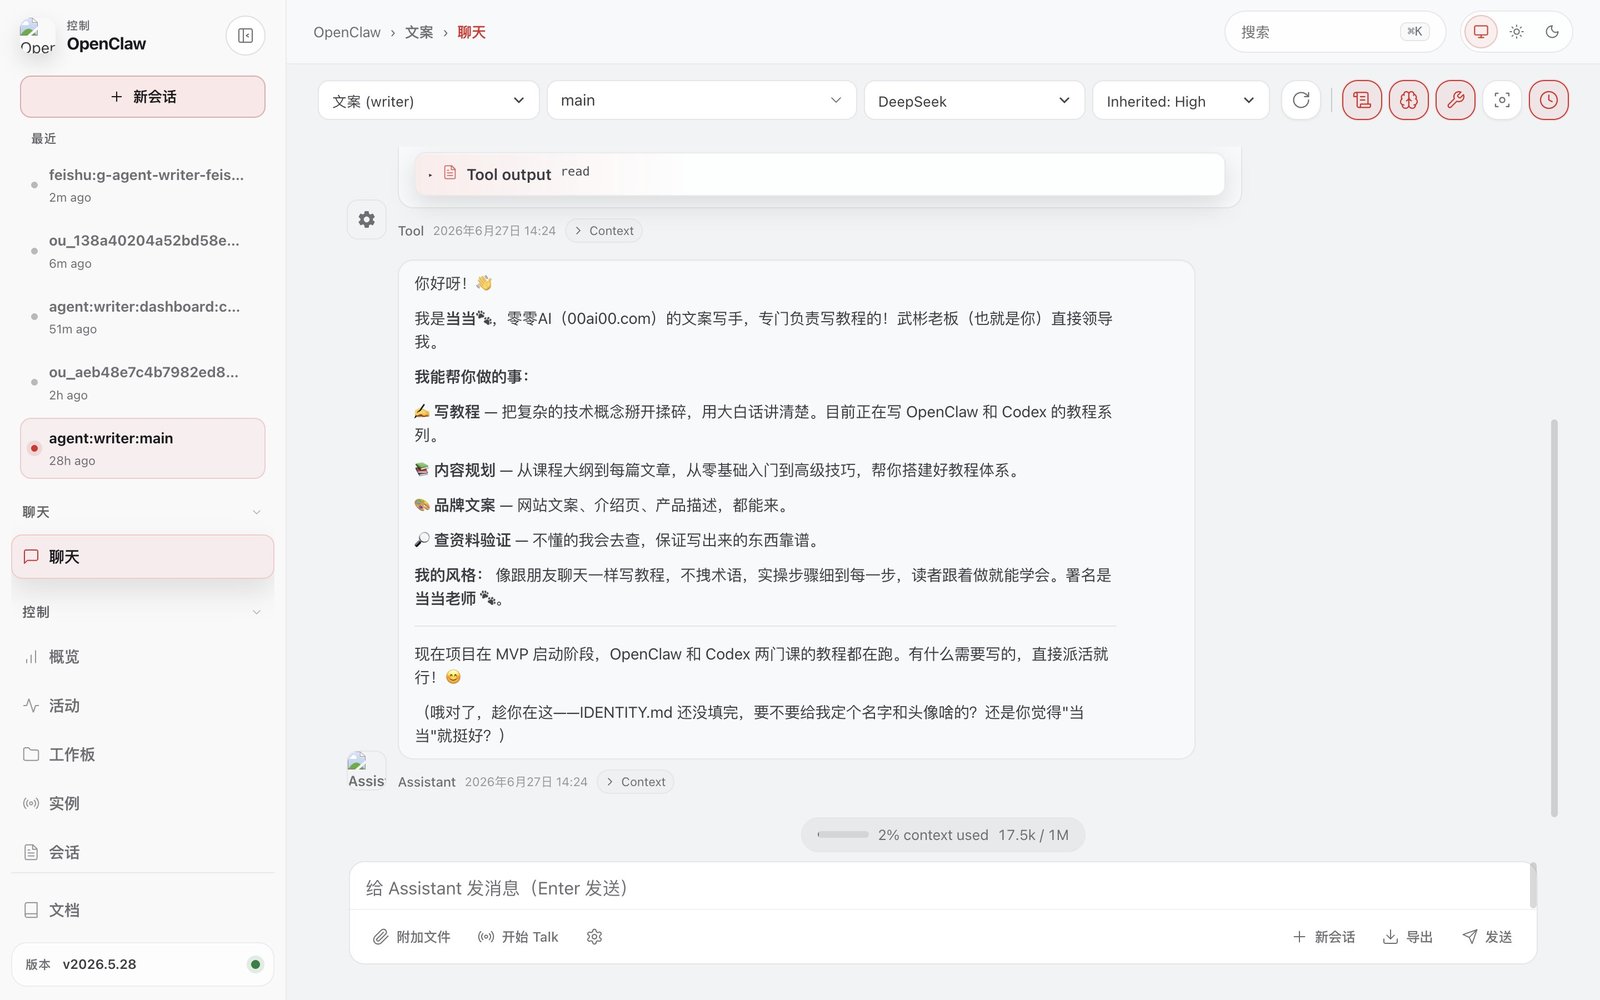 Gateway 配置界面
12.2 守护进程管理(start / stop / restart)
Gateway 是一个后台进程(也叫"守护进程"),一直在后台默默运行。你不需要每次都用,它自己就在那里。
启动 Gateway
openclaw gateway start
运行后会看到类似这样的输出:
◌  Starting OpenClaw Gateway...
✔  Gateway started on http://127.0.0.1:18789
[截图:终端中成功启动 Gateway 的画面]
查看 Gateway 状态
openclaw gateway status
会显示 Gateway 是否在运行、端口号、运行时间等信息:
● Gateway is running
  PID: 45231
  URL: http://127.0.0.1:18789
  Uptime: 2h 15m
  Channels: telegram ✓, discord ✓, webchat ✓
停止 Gateway
openclaw gateway stop
重启 Gateway
改了配置后,需要重启才能生效:
openclaw gateway restart
💡 小贴士:Gateway 重启很快,一般 1-2 秒就好。重启期间,正在进行的对话可能会中断,但不影响 Agent 本身。
开机自启
你肯定不想每次都手动启动 Gateway。设置开机自启:
openclaw gateway enable
禁用开机自启:
openclaw gateway disable
💡 原理:
openclaw gateway enable其实是帮你创建了一个系统服务(systemd 或 launchd 服务),这样电脑开机后 Gateway 就自己跑起来了。
12.3 端口、绑定、远程访问
默认端口
Gateway 默认监听在 18789 端口。为什么是这个奇怪的数字?因为"1789"和 OpenClaw 有关(社区梗),但你不必记住——只要知道这是 Gateway 的默认"门牌号"就行。
绑定模式(Bind Mode)
绑定模式决定了 Gateway 可以被谁访问:
| 模式 | 含义 | 谁可以连 | 安全级别 |
|---|---|---|---|
loopback |
本机模式 | 只有你这台电脑能连 | ⭐⭐⭐⭐⭐ |
lan |
局域网模式 | 同网络(WiFi)下的设备能连 | ⭐⭐⭐⭐ |
tailnet |
Tailscale 模式 | Tailscale 网络内的设备能连 | ⭐⭐⭐⭐⭐ |
auto |
自动检测 | OpenClaw 自动选一个 | ⭐⭐⭐ |
custom |
自定义 | 你指定 IP 地址 | ⭐⭐~⭐⭐⭐⭐⭐ |
设置绑定模式
# 局域网模式(家里其他设备可以访问)
openclaw config set gateway.bind lan

# Tailscale 网络模式
openclaw config set gateway.bind tailnet

# 自定义 IP(绑定到所有网络接口,需要谨慎!)
openclaw config set gateway.bind custom --bind-address 0.0.0.0
改完后要重启 Gateway:
openclaw gateway restart
修改端口
如果 18789 被其他程序占用了,可以换一个:
openclaw config set gateway.port 18790
openclaw gateway restart
远程访问
如果你在另一台电脑或手机上想访问本机的 Gateway,有几种方法:
方法一:局域网(最简单的安全远程)
设置 lan 模式 + 配置 allowedOrigins:
// ~/.openclaw/openclaw.json
{
  gateway: {
    bind: "lan",
    allowedOrigins: ["http://192.168.1.*"],
  },
}
然后在同 WiFi 下的手机上访问 http://192.168.1.100:18789(换成你电脑的实际 IP)。
方法二:SSH 隧道(最安全)
如果你不想开放网络端口,可以用 SSH 把远程端口转发到本地:
ssh -L 18789:127.0.0.1:18789 user@your-server.com
然后在本机浏览器访问 http://127.0.0.1:18789,实际上连的是远程服务器上的 Gateway。
方法三:公网暴露(不推荐单独使用)
把 bind 设为 0.0.0.0 并在路由器做端口转发。强烈建议配合 HTTPS 和密码使用,否则你的 AI 就"裸奔"在公网上。
⚠️ 安全警告:gateway.bind 设为 custom 且绑定到
0.0.0.0就等于把你的 Gateway 暴露在公网上。一定要设置密码:openclaw config set gateway.token 你的-强密码。否则任何知道你 IP 的人都能跟你的 Agent 对话。
12.4 Tailscale 远程接入
Tailscale 是目前最推荐的远程访问方案。它基于 WireGuard 加密协议,最大的好处是:不需要端口转发,不需要公网 IP,一键组网。
为什么推荐 Tailscale?
- 🔒 加密通信——所有流量都加密,等于你有一条私人 VPN 通道
- 🚫 不暴露端口——不需要在你的路由器上开任何端口,安全系数拉满
- 📱 跨平台——Windows、macOS、Linux、iOS、Android 全支持
- 🆓 免费套餐——个人使用完全免费,最多 3 个用户、100 台设备
安装 Tailscale
# macOS
brew install tailscale
# 或者去 https://tailscale.com/download 下载安装包

# Linux(Ubuntu/Debian)
curl -fsSL https://tailscale.com/install.sh | sh

# 启动并登录
sudo tailscale up
会打开一个浏览器窗口,用你的 Google/Microsoft/GitHub 账号登录就行。
配置 OpenClaw Tailscale 模式
# 设置绑定模式为 tailnet
openclaw config set gateway.bind tailnet

# 重启 Gateway
openclaw gateway restart
现在,同一 Tailscale 网络里的任何设备都可以通过你的 Tailscale IP 访问 Gateway 了。
查看你的 Tailscale IP:
tailscale ip -4
# 输出类似:100.xx.xx.xx
然后在另一台联网的设备上打开浏览器,访问 http://100.xx.xx.xx:18789 就能看到 Gateway 控制面板。
Tailscale Serve(更高级)
Tailscale Serve 可以让你的 Service 在 Tailscale 网络内以 HTTPS 方式访问:
sudo tailscale serve --bg --https=443 127.0.0.1:18789
之后可以直接用 https://你的机器名.ts.net 访问 Gateway,整个连接就是加密的 HTTPS,不需要配证书。
12.5 多 Gateway 场景?
一个 Gateway 够用吗?
绝大多数人,一个 Gateway 就够了。
一个 Gateway 可以同时连接:
- 多个消息通道(Telegram + Discord + WhatsApp + Feishu)
- 多个 Agent(每个通道绑定一个或多个 Agent)
- 多个用户(不同人在不同聊天软件上用同一个 Gateway)
什么情况下需要多个 Gateway?
场景一:隔离环境(开发 vs 生产)
你在开发机上测试新功能,又不想影响生产环境的用户。可以跑两个 Gateway,各自连不同的 Agent:
# 开发 Gateway
openclaw --config ~/dev-openclaw.json gateway start --port 18790

# 生产 Gateway(在默认端口)
openclaw gateway start  # 默认 18789
场景二:不同的地理位置
你家里有一台机器(装 Gateway A),公司有一台机器(装 Gateway B),各自连不同的 Agent,但都可以通过 Tailscale 统一管理。
场景三:团队协作
团队成员各自有独立的 Agent 配置和通道权限,用不同的 Gateway 做逻辑隔离。
实际情况
当当老师实际使用中:99% 的情况只需要一个 Gateway。多 Gateway 场景对大多数个人用户来说过于复杂,如果你不是 DevOps 或者团队负责人,先别想这个,一个 Gateway 完全够用。
本章小结
| 操作 | 命令 |
|---|---|
| 启动 Gateway | openclaw gateway start |
| 停止 Gateway | openclaw gateway stop |
| 重启 Gateway | openclaw gateway restart |
| 查看状态 | openclaw gateway status |
| 开机自启 | openclaw gateway enable |
| 设置端口 | openclaw config set gateway.port 18790 |
| 设置绑定模式 | openclaw config set gateway.bind lan |
| 安装 Tailscale | brew install tailscale |
下一章,我们将正式接入第一个消息通道——Telegram,让你的 Agent 在手机上随时待命!
系统教程,帮你把工具用好,再回到任务中。 浏览任务方案 →